Behind the Scenes: How I Manage and Update My Portfolio
- #portfolio
- #spring boot
- #github actions
- #ci/cd
- #docker
- #azure
- #git
- #web development
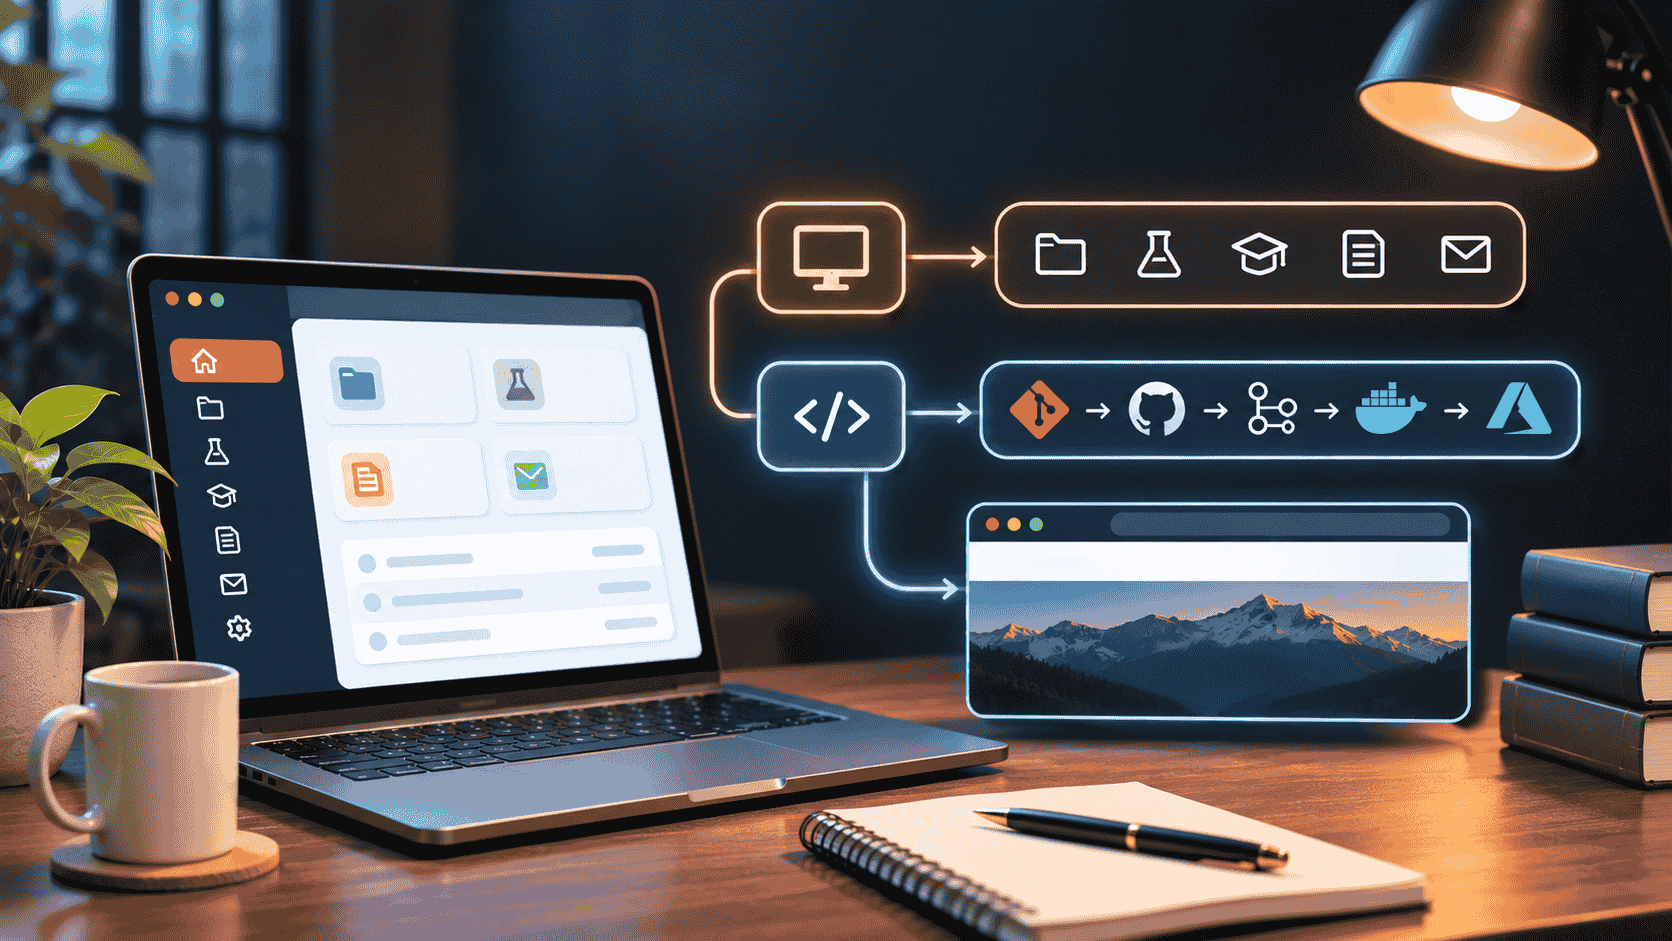
Behind the Scenes: How I Manage and Update My Portfolio
Building a personal portfolio is one thing, but maintaining it, organizing its content, and continuously improving it is another.
When I started working on my portfolio website, I wanted to create more than a collection of static pages. I wanted a system that I could control myself — a place where I could manage my projects, research, experiences, and blog posts without editing the source code every time.
At the same time, I wanted a proper development and deployment workflow so that when I needed to change a design, fix an issue, or introduce a new feature, I could do it in an organized and reliable way.
This post explains how I manage my website today, from the admin dashboard to the actual deployment process.
1. Managing My Website Through an Admin Dashboard
One of my main priorities was to have a dedicated administration system with a clean, practical interface.
Instead of manually modifying HTML files whenever I want to publish something, I can log in to my website's admin dashboard and manage the content from there.
The dashboard allows me to work with different sections of my website:
- Projects: Add new projects, update descriptions, manage images, and remove outdated entries.
- Research: Organize research activities, papers, and other work I want to share.
- Journey: Record educational experiences, achievements, activities, and personal milestones.
- Blog: Write articles, edit existing posts, and control which posts are publicly visible.
- Contact: Review messages submitted through the website.
I also wanted the interface to be convenient enough that routine content management would not feel like a development task.
For example, if I complete a new project, I don't need to open IntelliJ IDEA or change Java code just to showcase it. I can create the project entry through the admin dashboard, add its information, and publish it.
The application uses MongoDB Atlas to store its structured content. The public website displays the published information, while administrative actions are handled through protected functionality.
The main advantage is simple: I can manage everyday website content without rebuilding or redeploying the application.
But not every change can be handled through the dashboard.
2. What Happens When I Need to Change the Website Itself?
Sometimes I want to change something beyond the content stored in the database.
For example:
- Changing the wording of a page introduction.
- Improving a section's layout or spacing.
- Adding a new feature.
- Fixing a backend issue.
- Updating how the contact form behaves.
- Improving the overall user experience.
These changes usually require modifications to the application's source code.
My portfolio is built with Java, Spring Boot, Thymeleaf, HTML, CSS, and JavaScript. Its production environment uses Docker on an Azure virtual private server, with Nginx handling web traffic.
I use Git and GitHub to manage code changes, and GitHub Actions to automate testing, building, and deployment.
Here is how that process works.
3. A Real Example: Updating My Website's Text
Recently, I wanted to improve the introduction text on several pages.
The Projects, Research, Journey, and Blog sections had descriptions that no longer reflected how I wanted to present my work.
I also wanted to improve the Contact page and replace its technical submission confirmation with a friendlier message.
Although these were small changes, I followed the same development workflow that I would use for a larger feature.
In total, I updated seven source files and verified the changes before merging them.
Step 1 — Open the project locally
Environment: MacBook Terminal, inside my local development setup.
cd "$HOME/Documents/Jubayer/project/Jubayer-Portfolio"
This moves the terminal into the root directory of my Spring Boot project.
From here, I can work with Git, execute Maven commands, and inspect the application source code.
Step 2 — Synchronize the main branch
Before starting a new change, I make sure my local main branch is up to date.
git switch main
git pull --ff-only origin main
What these commands do:
git switch mainmoves me to the main development branch.git pull --ff-only origin mainretrieves the latest changes from GitHub without creating an unexpected merge commit.
Expected result:
Already up to date.
Or Git may report a fast-forward update if new commits are available.
I prefer keeping main stable rather than making experimental changes directly on it.
Step 3 — Create a dedicated feature branch
For this particular update, I created a separate branch:
git switch -c content/update-public-page-text
Expected result:
Switched to a new branch 'content/update-public-page-text'
The purpose of this branch is to keep the text updates separate from the stable code.
For future changes, I use a different descriptive branch name depending on the feature or fix.
Step 4 — Find and edit the relevant files
I use IntelliJ IDEA to work with the source code.
When I need to locate a sentence, I can search the project directly in the IDE or use a terminal command such as:
grep -RIn "text to find" src/main/java src/main/resources
This searches the application's Java and resource files and displays matching file paths and line numbers.
For the page-description update, the main files were inside:
src/main/resources/templates/
The contact form confirmation also involved:
src/main/java/com/jubayerislam/portfolio/web/site/ContactController.java
src/main/resources/static/js/site.js
I changed the wording while preserving the existing application behavior.
My goal was to improve the presentation without introducing unnecessary changes to the backend, database, or UI structure.
4. Checking the Changes Before Committing
Once I finish editing, I verify exactly what has changed.
Step 5 — Review the modified files
git status --short
git diff --check
git diff --stat
These commands help me inspect the change before saving it to Git.
| Command | Purpose |
|---|---|
git status --short |
Shows which files were modified |
git diff --check |
Detects whitespace problems |
git diff --stat |
Summarizes the changes in each file |
For this update, Git reported seven modified files.
The whitespace check produced no errors, which was the expected result.
Step 6 — Run the automated tests locally
Before committing, I run:
./mvnw test
This uses the project's Maven Wrapper to execute the configured tests. The required local test dependencies, including MongoDB, must be available.
For this update, the test result was:
Tests run: 89, Failures: 0, Errors: 0, Skipped: 0

BUILD SUCCESS
This gave me confidence that the changes had not broken the behavior covered by the existing tests.
Of course, successful automated tests do not guarantee that every visual detail is perfect. I still review the website's appearance when needed.
5. Saving the Changes Using Git and GitHub
Step 7 — Stage and commit the changes
After verification, I stage the specific files I modified.
For example:
git add src/main/resources/templates/projects/list.html
git add src/main/resources/templates/research/list.html
git add src/main/resources/templates/journey.html
git add src/main/resources/templates/blog/list.html
git add src/main/resources/templates/contact.html
git add src/main/resources/static/js/site.js
git add src/main/java/com/jubayerislam/portfolio/web/site/ContactController.java
Then I create one meaningful commit:
git commit -m "Update public page descriptions and contact messages"
Git records the changes as a commit with its own identifier.
For this update, my commit was:
c06ccbc
I prefer creating a clear commit after a feature or fix is complete rather than committing every minor edit separately.
Step 8 — Push the feature branch to GitHub
git push -u origin content/update-public-page-text
Expected result: Git uploads the branch and provides a link to create a Pull Request.
The code is now available on GitHub, but the changes have not yet been merged into main or deployed to the live website.
6. Using Pull Requests and Continuous Integration
After pushing my branch, I open a Pull Request on GitHub.
For this update, I created Pull Request #5.
The Pull Request lets me review the changes separately before integrating them into the main codebase.
It also triggers my GitHub Actions Continuous Integration workflow.
The CI process runs the Java test suite with the project's test configuration and MongoDB service.
I check that:
- The automated tests pass.
- There are no merge conflicts.
- The changes contain only the intended modifications.
For this particular update, the CI check passed successfully.
I then merged the Pull Request into main and deleted the completed feature branch on GitHub.
Step 9 — Synchronize my local project again
After merging, I update my Mac:
git switch main
git pull --ff-only origin main
git branch -d content/update-public-page-text
git status -sb
Expected result:
## main...origin/main
This confirms that my local main is synchronized with GitHub, with no uncommitted changes indicated.
At this point, the source code is ready for production deployment.
7. Deploying the Website to Azure with GitHub Actions
Initially, deploying updates involved several manual steps, including preparing a Docker image, transferring it to my VPS, and restarting the application.
That process helped me understand how deployment works, but I wanted something more consistent and convenient.
So I configured a dedicated deployment workflow using GitHub Actions.
Now, after merging the required changes, I can deploy through GitHub instead of manually transferring Docker images from my Mac.
Step 10 — Trigger the deployment
I open my repository on GitHub and navigate to:
Actions → Deploy to Azure → Run workflow
I select the main branch and start the workflow.
I intentionally keep production deployment as a manual action so that merging a Pull Request does not automatically change the live website.
Step 11 — What happens automatically?
After I trigger the workflow, GitHub Actions performs the deployment steps.
First: Automated testing
The workflow runs the project's Java tests again.
If the test job fails, the deployment job does not continue.
Second: Docker image build
GitHub Actions builds a production Docker image for the architecture used by my Azure server.
This packages the application into a consistent deployment artifact.
Third: Secure transfer to Azure
The workflow transfers the prepared image to my VPS through an authenticated SSH connection.
Sensitive connection information is managed through GitHub Actions secrets rather than being written directly into the repository.
Fourth: Application deployment
A deployment script on the server loads the new image and starts the updated application using its existing production configuration.
The deployment process preserves the application's persistent data and includes a rollback mechanism if the new application fails its health check.
Finally: Deployment verification
The workflow checks that the application responds successfully.
If everything works, GitHub Actions displays a successful deployment result.
Expected GitHub Actions result
test     Success
deploy   Success

Workflow completed successfully
Once the deployment succeeds, I check the live website in my browser.
For text updates, I inspect the affected pages. For a new feature, I also verify the relevant functionality.
My website is available at:
https://jubayer.host
8. Why I Prefer This Workflow
There are several reasons I follow this approach, even when a change is small.
A stable main branch
I develop changes separately and only merge them after verification.
Better change tracking
Git records what changed and when. If something goes wrong, I can identify the relevant commit.
Automated quality checks
GitHub Actions runs the configured tests before deployment.
Consistent Docker builds
I do not need to manually recreate the production environment for every update.
Controlled production releases
I choose when to deploy changes to the live website.
A safer recovery process
The deployment script attempts to restore the previous application container if the new deployment fails its checks.
None of these guarantees that mistakes can never happen. However, they make the development and deployment process easier to understand, repeat, and troubleshoot.
9. Two Ways I Manage the Website
Ultimately, my portfolio has two different management workflows.
Content management through the admin dashboard
When I want to publish a project, update a research entry, add a blog post, or edit existing content, I use the dashboard.
These actions update application content without requiring a new Docker deployment.
Application development through Git and CI/CD
When I want to change source code, modify layouts, fix functionality, or introduce new features, I work locally in a feature branch.
Then I test, commit, push, open a Pull Request, merge, and deploy through GitHub Actions.
Keeping these two workflows separate makes maintaining the website much more convenient.
10. What I Learned
Working on this portfolio has helped me understand that building a website is not only about writing code or designing pages.
It also involves thinking about content management, authentication, databases, version control, automated testing, containerization, infrastructure, and deployment.
More importantly, it has given me experience maintaining a real application rather than only running it locally.
There are still features I want to improve and new ideas I want to explore. I expect the website and its development workflow to continue evolving as I learn.
For now, I have a system where I can manage my content through an admin interface and update the application itself through an organized development and deployment process.
And that's exactly the kind of foundation I wanted for my personal portfolio.